RGB channel split, CMYK misregistration or monochrome ghosting — plus slice displacement. Live in your browser, nothing to install.
Mode is the first real decision, and it changes what the section below it does.
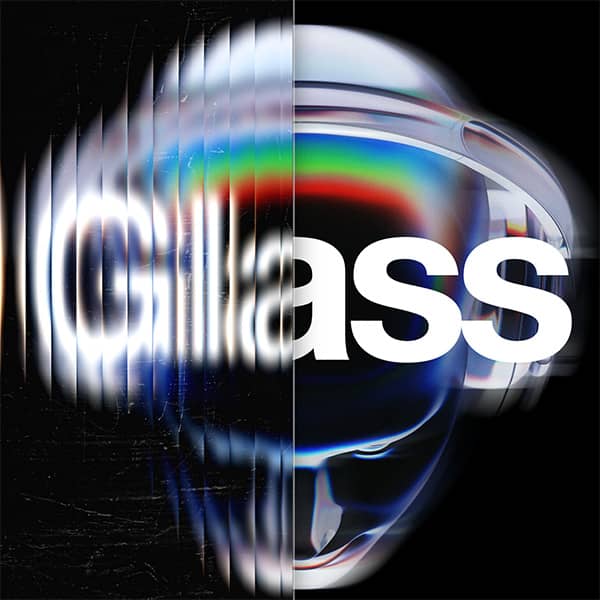
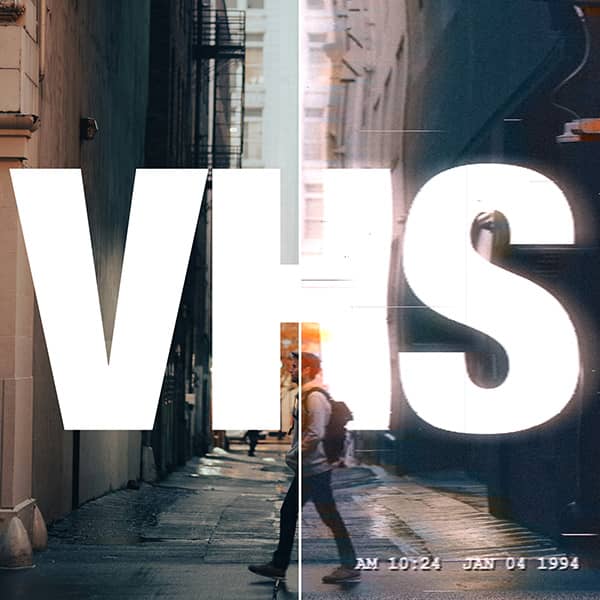
RGB splits the image into red, green and blue channels and lets you offset each one on X and Y. This is chromatic aberration — the classic digital glitch, and what most people picture when they think of the effect.
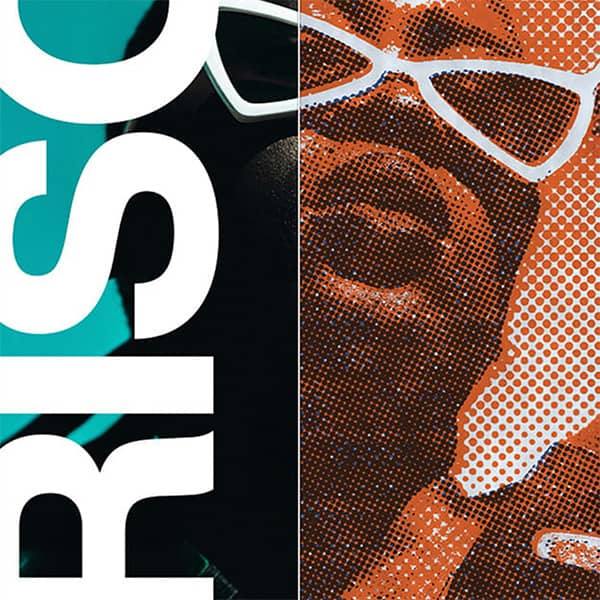
CMYK splits into cyan, magenta, yellow and black ink plates instead, with a Black Gen slider controlling how much neutral tone is pulled out of the colour plates and into black. Offsetting these is misregistration — a printing fault rather than a digital one, and it looks noticeably different. Warmer, denser, more physical.
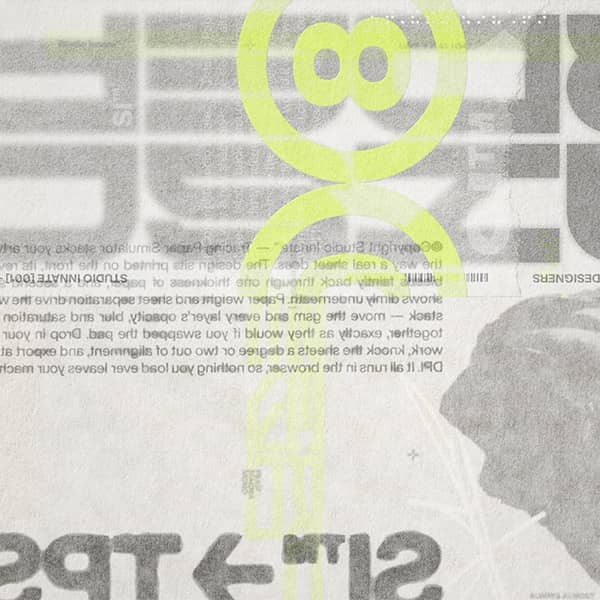
Monochrome reduces to a single plate with your own Ink and Paper colours, plus a Ghost offset that draws a second copy at reduced opacity. That’s the double-strike misprint look, and it’s the mode to use for one-colour apparel work.
Slice cuts the image into horizontal bands and shifts them sideways. Amount at zero turns it off entirely. Slices sets how many bands, Max shift how far any one can travel, and Direction whether they can go both ways or only one. Channel offset is the important one: raise it and each channel or plate gets a different shift per band, so the image tears chromatically instead of sliding in solid blocks. That’s the difference between signal corruption and a sliding puzzle.
Dot gain blurs each channel independently, imitating ink spreading. Contrast, Exposure and Grain apply per channel, so the noise is chromatic rather than uniform — a small detail that stops the result looking like a filter laid over the top.
Seed controls every random decision. Same seed plus same settings always gives the same result, so Randomize is non-destructive — note the seed you liked and you can always get back to it.
Designers spend a lot of effort putting it back, because that fringing is one of the few visual cues that reads as captured rather than generated.
RGB mode with small offsets — two or three pixels, opposite directions on red and blue — gives you controlled aberration that suggests a real lens. Large offsets stop reading as optics and start reading as digital failure, which is the glitch end of the same dial. There’s no hard line between the two; it’s the same control and only the magnitude changes.
Keep green near zero. Real lenses displace red and blue around a green that stays roughly put, and following that convention is most of what makes it convincing.
That’s why the two modes look so different. RGB split produces glowing cyan and orange halos. CMYK misregistration produces muddier, denser edges with the specific colour casts of overprinted ink.
Set Black Gen high and more of the image’s neutral weight sits on the black plate, so shifting cyan, magenta and yellow moves colour fringes without smearing the structure. Set it low and everything shifts together for a much messier result.
Add a little Dot gain — this is print, and print spreads.
The controls that matter most:
Stack it with a moderate RGB split and you have the full vocabulary in one pass.
(Two related techniques this tool deliberately doesn’t do: datamosh, which corrupts video keyframes and needs a video pipeline; and pixel sorting, which reorders pixels by luminance. Both are worth knowing about, neither is what this is.)
Note the seed and you can regenerate the same overlay at a different size later, which is the thing a downloaded overlay pack can never do.
For ready-made versions, our texture packs include glitch, CRT and print-degradation sets.
Photoshop means duplicating the layer three times, setting each to a single channel via Blending Options, nudging them individually, then rebuilding the whole stack when you want something different. App filters apply a canned offset with no control. Downloaded overlay packs are fixed images at fixed resolutions that you’ll recognise on someone else’s work within a month.
Here every parameter is live and every result is reproducible from its seed. Nothing to install, runs on desktop, tablet or phone, exports PNG at up to 2600px tagged 300 DPI.
Glitch art emerged in the 1990s from people deliberately corrupting files to see what broke, and it became an aesthetic for a specific reason: as images got cleaner, evidence of process got rarer. A perfectly rendered image has no history. A torn one has been somewhere.
That’s also why glitch keeps migrating. RGB fringing came from lenses, misregistration from presses, slice tearing from broadcast and compression. Each generation borrows the failure state of the technology it grew up with — which is why this tool covers three colour models rather than one. They’re the same idea from three different machines.
Every generator is free to use. Exporting your own work needs a plan. Get the Effects Generator on its own from $12 / month, or the full suite with the Scene Editor, the 3D Editor and 251+ mockup templates.
Get a feel for the core features
No credit card required
Mockup & Effects Generator plan
Cancel anytime / Secure payment
Get a feel for the core features
No credit card required
Mockup & Texture Generator plan
Cancel anytime / Secure payment
RGB split offsets the red, green and blue channels additively, giving bright cyan and orange fringes — the digital glitch look. CMYK misregistration offsets cyan, magenta, yellow and black ink plates subtractively, so overlapping edges darken instead of glowing. It looks denser and more physical, because it imitates a printing press rather than a screen.
Use RGB mode with small offsets of two or three pixels, moving red and blue in opposite directions and leaving green near zero. Real lenses displace red and blue around a green that stays roughly in place, and following that convention is most of what makes it look optical rather than digital.
Raise Channel offset. At zero, each band moves as a solid block. Above zero, every channel or plate shifts by a different amount within the same band, so the image tears chromatically — which is what reads as signal corruption rather than a rearranged image.
Yes. Every random decision derives from the Seed value, so the same seed with the same settings always produces an identical result. Note the seed and you can regenerate an export exactly, which also makes the Randomize button non-destructive.
No. Datamosh works by corrupting video keyframes and needs a video pipeline; pixel sorting reorders pixels by luminance. Both are related glitch techniques but neither is what this tool does. This is channel displacement, slice tearing and print misregistration on still images.
In CMYK mode it controls how much of the image's neutral tone is pulled out of the colour plates and onto the black plate. Set it high and shifting the colour plates moves fringes without smearing the underlying structure. Set it low and everything moves together for a messier result.
Up to 2600 pixels on the long edge, tagged at 300 DPI so it places at a sensible physical size in layout software. The preview renders smaller for responsiveness, and every pixel-based setting is scaled proportionally so the export matches what you saw.
Yes. Every export on a paid plan carries a full commercial licence, with no watermarks and no per-use fees.
| Cookie | Duration | Description |
|---|---|---|
| cookielawinfo-checkbox-analytics | 11 months | This cookie is set by GDPR Cookie Consent plugin. The cookie is used to store the user consent for the cookies in the category "Analytics". |
| cookielawinfo-checkbox-functional | 11 months | The cookie is set by GDPR cookie consent to record the user consent for the cookies in the category "Functional". |
| cookielawinfo-checkbox-necessary | 11 months | This cookie is set by GDPR Cookie Consent plugin. The cookies is used to store the user consent for the cookies in the category "Necessary". |
| cookielawinfo-checkbox-others | 11 months | This cookie is set by GDPR Cookie Consent plugin. The cookie is used to store the user consent for the cookies in the category "Other. |
| cookielawinfo-checkbox-performance | 11 months | This cookie is set by GDPR Cookie Consent plugin. The cookie is used to store the user consent for the cookies in the category "Performance". |
| viewed_cookie_policy | 11 months | The cookie is set by the GDPR Cookie Consent plugin and is used to store whether or not user has consented to the use of cookies. It does not store any personal data. |
Get instant access to the Scene Editor and 3D Editor. No credit card required.
Scene Pro feature
Play with the sample image as much as you like. Scene and Effects Members can run the generators on their own artwork and export the finished file plus print-ready separations.
Explore my options Already a member? Log inView